How to Flawlessly Wash Walls & Touch Up the Paint
Over time, the walls of our home can begin to look a little worse for wear, as marks, scuffs, and scratches begin to appear on the once flawless paint job.
You might think: why should I bother to touch-up the paint in my home? After all, the walls still do their job just as well, whether the paint job looks good or not.
However, countless studies have shown that the appearance of the rooms we inhabit have an effect on our mood – not to mention influence how our homes come across to our guests.
Being in a bright, freshly painted space is infinitely more conducive to feeling content in our homes than having walls replete with marks and scuffs we catch in the corner of our eye that subtly, yet consistently, bug us throughout the day.
Moreover, if you’re thinking of selling your home now or in the near future, the best way to increase your sale price affordably is to repaint, or simply touch up the paint in your interior, to make your house more appealing to buyers.
This can add thousands to the final sale price of your home, according to the real estate community, with home improvement expert Dan DiClerico stating that “fresh paint adds 1% to 3% to a home’s final sale price” as quoted in USA Today.
With this in mind, we’ve compiled all the information you need to keep your walls clean regularly and rejuvenate them with pain when necessary.
What you’ll need…
- Sponge, soap and water
- Paint of the same colour/finish as the paint used originally.
- Touch-up brush or roller (depending on what was used to complete the first paint job).
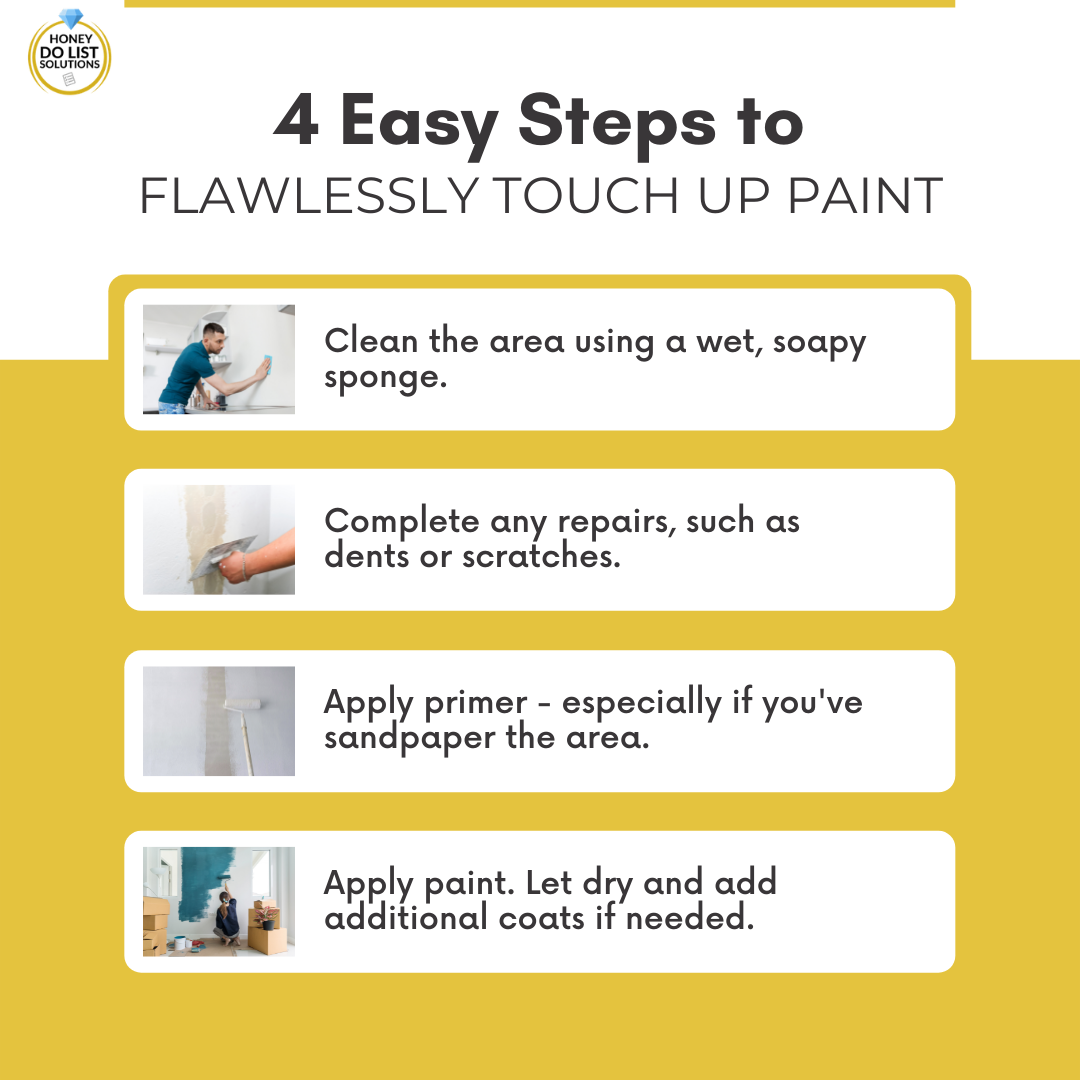
How to touch up the paint on your walls.
1. Clean the area.
Using a wet, soapy sponge, wash the area you intend to paint.
If you’re giving your home a top-to-bottom spruce – for your own benefit or for the sake of selling – then you might consider washing the entirety of your walls, so the whole surface is rid of dust and dirt.
Not only will this mean that all the areas you’re planning to touch up will be washed in one fell swoop, but the colour of the paint will look more consistent across the entire wall if any particulates darkening the wall are washed away.
Once you’re done, gently, though thoroughly, dry with a clean towel.
2. Complete any repairs.
If you’re looking to repaint an area with a dent or scratch, you’ll first want to apply filler to the area and press the compound into the groove with a putty knife, smoothing until the surface is even.
Then, sand the area down, to ensure 100% evenness – this will also help the primer and paint to adhere to the surface.
This also goes for any raised areas you may find on your wall; simply sand the surface until it’s level with the rest of the wall.
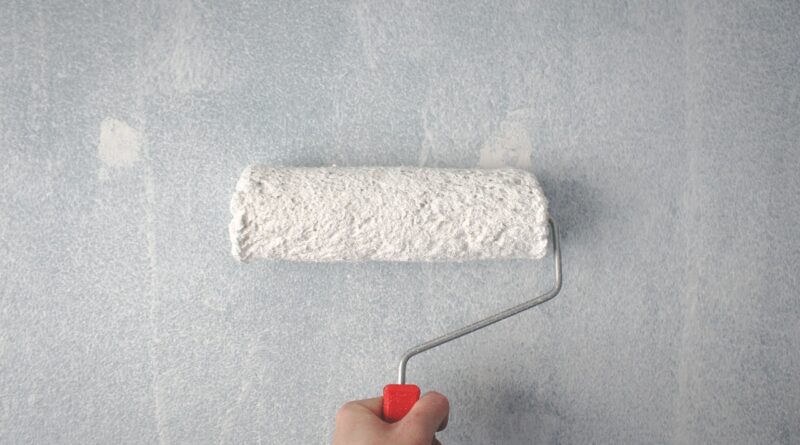
3. Apply primer.
Though some people choose to skip the priming stage when applying a new coat of paint, your paint job will adhere more successfully to the wall if you use primer – especially if that wall has had the original coat of paint sandpapered away.
Primer can also improve the subtlety of the blending between the old and new paint.
If you’ve not sanded the area – on a part of the wall that perhaps didn’t have any repairs that needed doing – then primer is useful but less essential.
4. Apply the paint.
Hopefully you’ll still have the leftover paint from the first paint job, as well as the same tools, which you can use to apply paint to the areas of your wall that need a touch up.
Top Tips
- Begin your touch up with a very small amount of paint – otherwise, you may end up with a large conspicuous blob that you’ll need to phase out into the rest of the wall, creating a lot more work for yourself, while increasing the likelihood of your touch-ups becoming noticeable (and not in a good way).
- After applying the paint, wait for it to dry before applying another coat or packing the paint and tools away, so you can see how it looks dry before making a decision about whether the walls need another coat or not.
- If you don’t have – or can’t find – the tools/paint you used on your walls the first time, there are smartphone apps that can identify the colour of your walls and match you to the closest color it can find. Alternatively, for a more accurate match, you can scratch away a piece of your wall paint and bring it to a hardware store with color matching tech.
Frequently asked questions…
How should you clean your walls before touching up the paint?
Many think that a quick dust of your walls is sufficient to clean them before painting. However, any dirt that has managed to adhere to your walls isn’t going to be bothered by a feather duster.
Instead, using a damp, ever-so-slightly soapy sponge to wash the wall, using circular motions to wipe away dirt and dust, is significantly more effective.
Always make sure to dry the wall with a towel – and ensure thorough dryness before you come to paint the wall.
Can you just touch up paint without painting the whole wall?
Yes, it’s certainly possible to touch up your walls’ paint job without painting the whole thing.
However, it can be tricky, so make sure to only use a tiny amount of paint to begin with and, if your wall is covered with marks and you’re low on time, painting the whole wall regardless might be an option to consider.
How do you blend paint when touching up a wall?
Start with a small amount of paint on the brush or roller – whichever tool was used to complete the original paint job – and dab the paint into the center of the area, drawing the paint out using feather-like strokes to blend, so the thickness of the paint gradually decreases the further from the center it goes, to blend seamlessly with the rest of the wall.
How often do I need to wash my walls?
Generally washing your walls once a year will suffice, and you may not need to touch up the paint yearly. Depending on the size of your home you will want to break up the task doing one level of the home at one time and the other half 6 months later. To help you with this we have developed a home maintenance calendar that not only helps you keep your walls clean but your entire home.
Should you do-it-yourself or hire a professional?
There are both benefits and drawbacks to consider when doing it yourself versus hiring a professional.
If you opt to complete the wall paint touch-up by yourself…
As long as you follow the above steps and tips, you should be able to complete a successful touch up by yourself at a fraction of the cost.
Of course, it’s likely that a professional will be able to complete the touch-up to a higher standard, and if you’re considering having the whole wall painted, this might be the better route to go to ensure a high quality job.
If you choose to hire a professional…
Obviously it’s going to cost more to hire a professional to complete the touch-ups in your home, and since the job isn’t super technical, the professionally completed paint touch ups may only be a small grade above in terms of quality, compared to what you can do yourself.
However, hiring a professional means you don’t need to purchase any tools you don’t already have – such as a putty knife and spackling compound – or spend the time and effort completing the job.
What’s more, if you look at the paint touch ups you’ve completed and you aren’t satisfied with your work, it might be a good idea to get someone with a little more know-how in to complete the job to ensure your home looks the best it can be.