
6 Do It Yourself Steps To Lay Sod
Building a new home is a very exciting time in your life. You get to pick your floor plan, cabinets, colors and make your new home to be everything you have ever wanted. My wife and I recently built a home in Utah and found out that there is still a lot to do after you close on your home. One of these major expenses is landscaping. While in the process of completing my Honey Do List I needed to install a large part of my landscaping by preparing for and laying sod in my backyard. I wanted to share with you my 6 DIY steps to laying sod and help you complete your Honey Do List task.
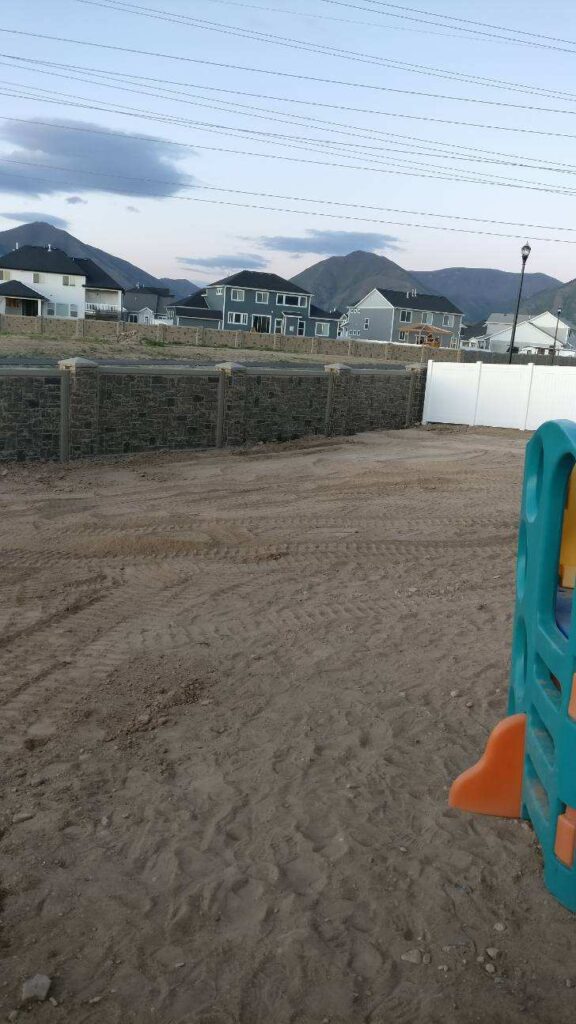
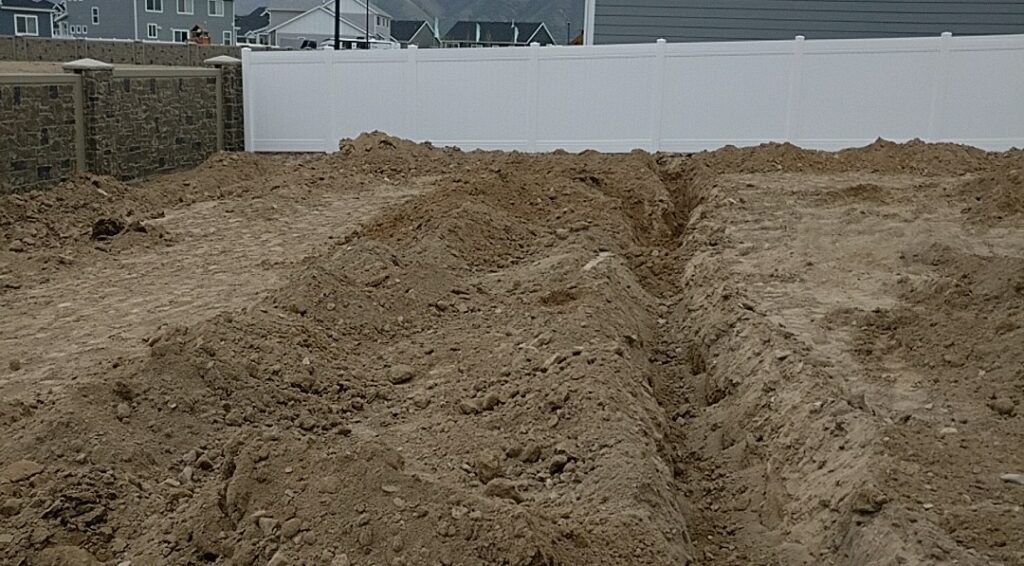
Before 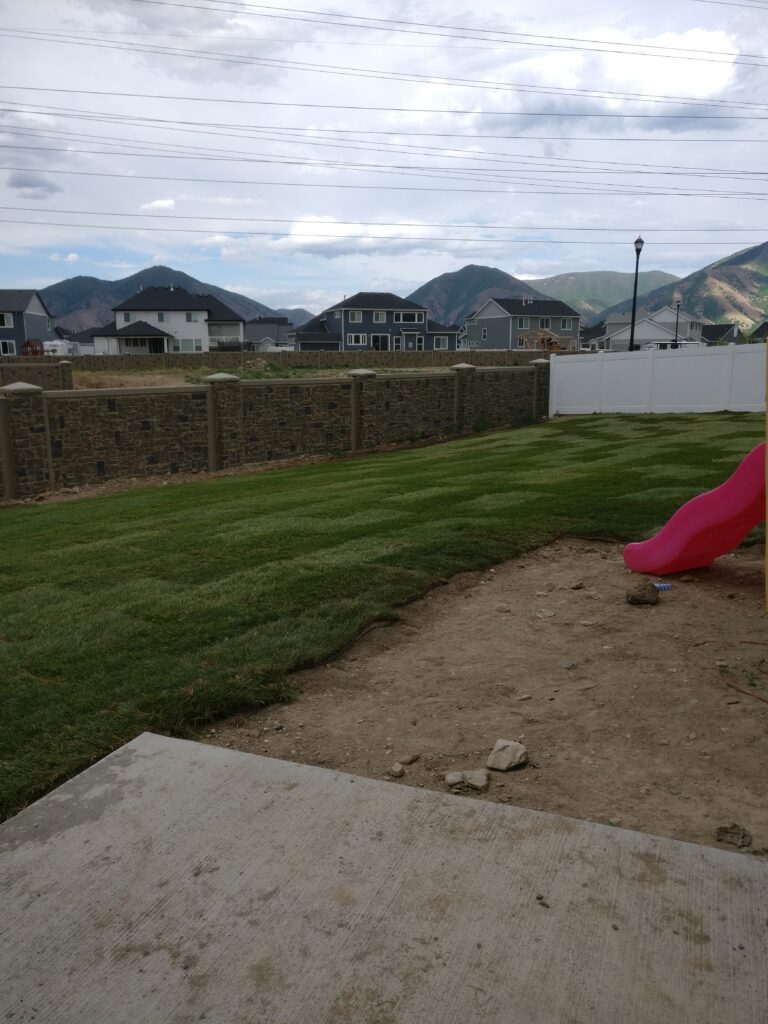
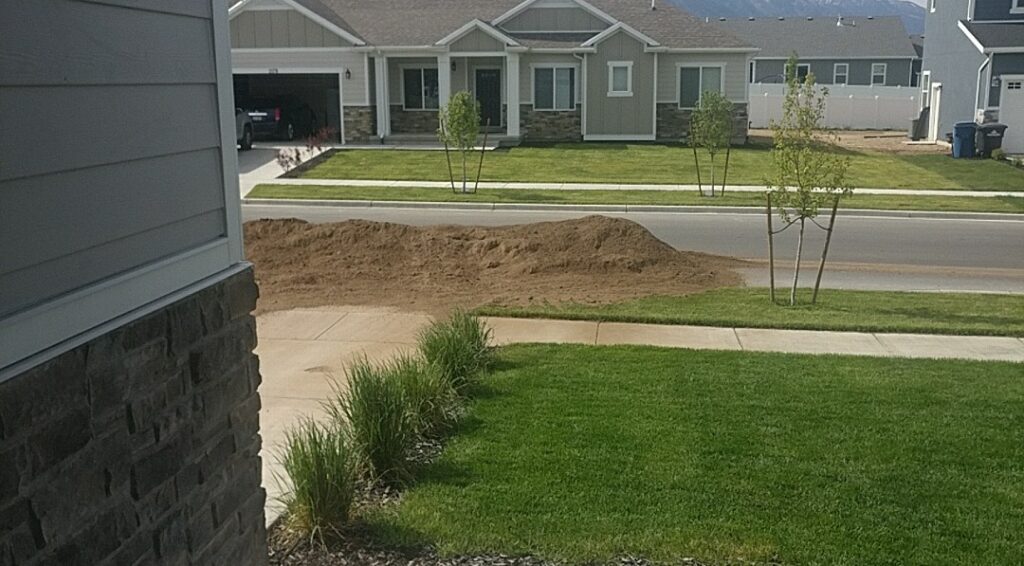
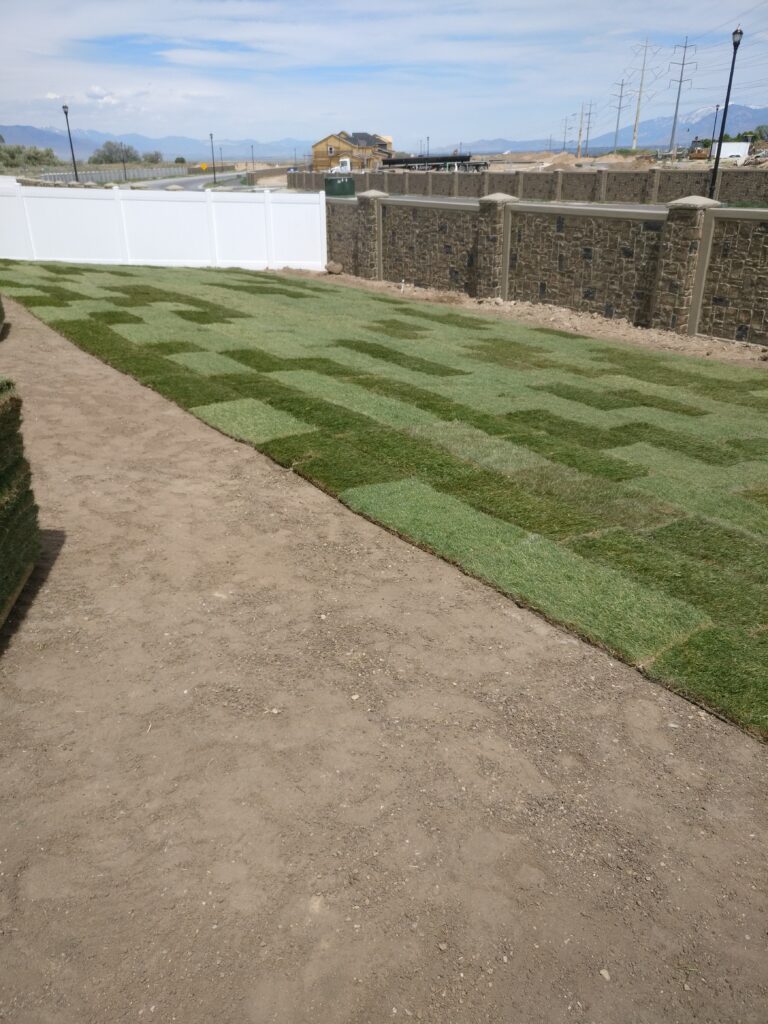
After
There is a lot more that goes into laying sod than just ordering the sod from the sod farm and laying it in the backyard. Laying Sod takes a lot of preparation and planning to ensure you have an even backyard and healthy grass. Here are our Honey Do 6 steps to laying sod with related tips:
6 Step for Laying Sod
- Measuring, planning and ordering
- Install sprinklers or have a watering system
- Grade your yard
- Adding Top soil
- Laying Sod
- Watering your Sod
1. Measuring, planning and ordering
First things first, you definitely want to and need to plan how you want your yard to look and where you will be putting sod. This step is vital to the success of your project and should be done before you start any of your landscaping projects. First things first is you should draw out with your significant other how you want the backyard to look. As a Honey Do list task it is important to listen to each other’s desires and create a plan together. A great method is to use a pen and grid paper to map out your yard and get a more accurate picture of the space you will be using. I did this method and it helped me to visualize my new landscape. Others prefer using online software and tools that you can hopefully explore in a future article. Once you have laid out your design you will need to accurately measure where you will be putting sod and calculate the square footage. I went looked on Amazon for a cheap wheel measuring tool that saved me a lot of time. If your yard is shaped awkwardly like mine it may be easier to use an online calculator to double check your math. Check out the below Excel topsoil and sod calculator I created to help you determine how much sod and Top soil you will need. A general rule of thumb is to add 3 inches of top soil all around your yard and you’ll want to order some extra sod because generally the top layer of the pallets dry out and can take longer to establish. Our Sod Calculator below will automatically add 100 Sq. ft of sod for you.
(Calculator coming Soon)
Once you have calculated your sod and top soil it is important to order it sooner than later. It can generally take a month or two for the sod to be delivered which will give you time to do all the prep work needed to lay your sod. It took me a total of a month to prepare while working a full time job. You may be able to do the preparations faster depending on your availability. When you pick a place to order sod from I recommend doing your research and finding the best deal for you. You may think sod is all the same but there is a difference between the sod that cost .38 cents a Sq. Ft and .48 cents a Sq. Ft It may be worth spending that extra 10 cents per Sq. Ft because it will look better faster and your lawn will establish much quicker as well. Once you have ordered your materials it is time to start preparing your area.
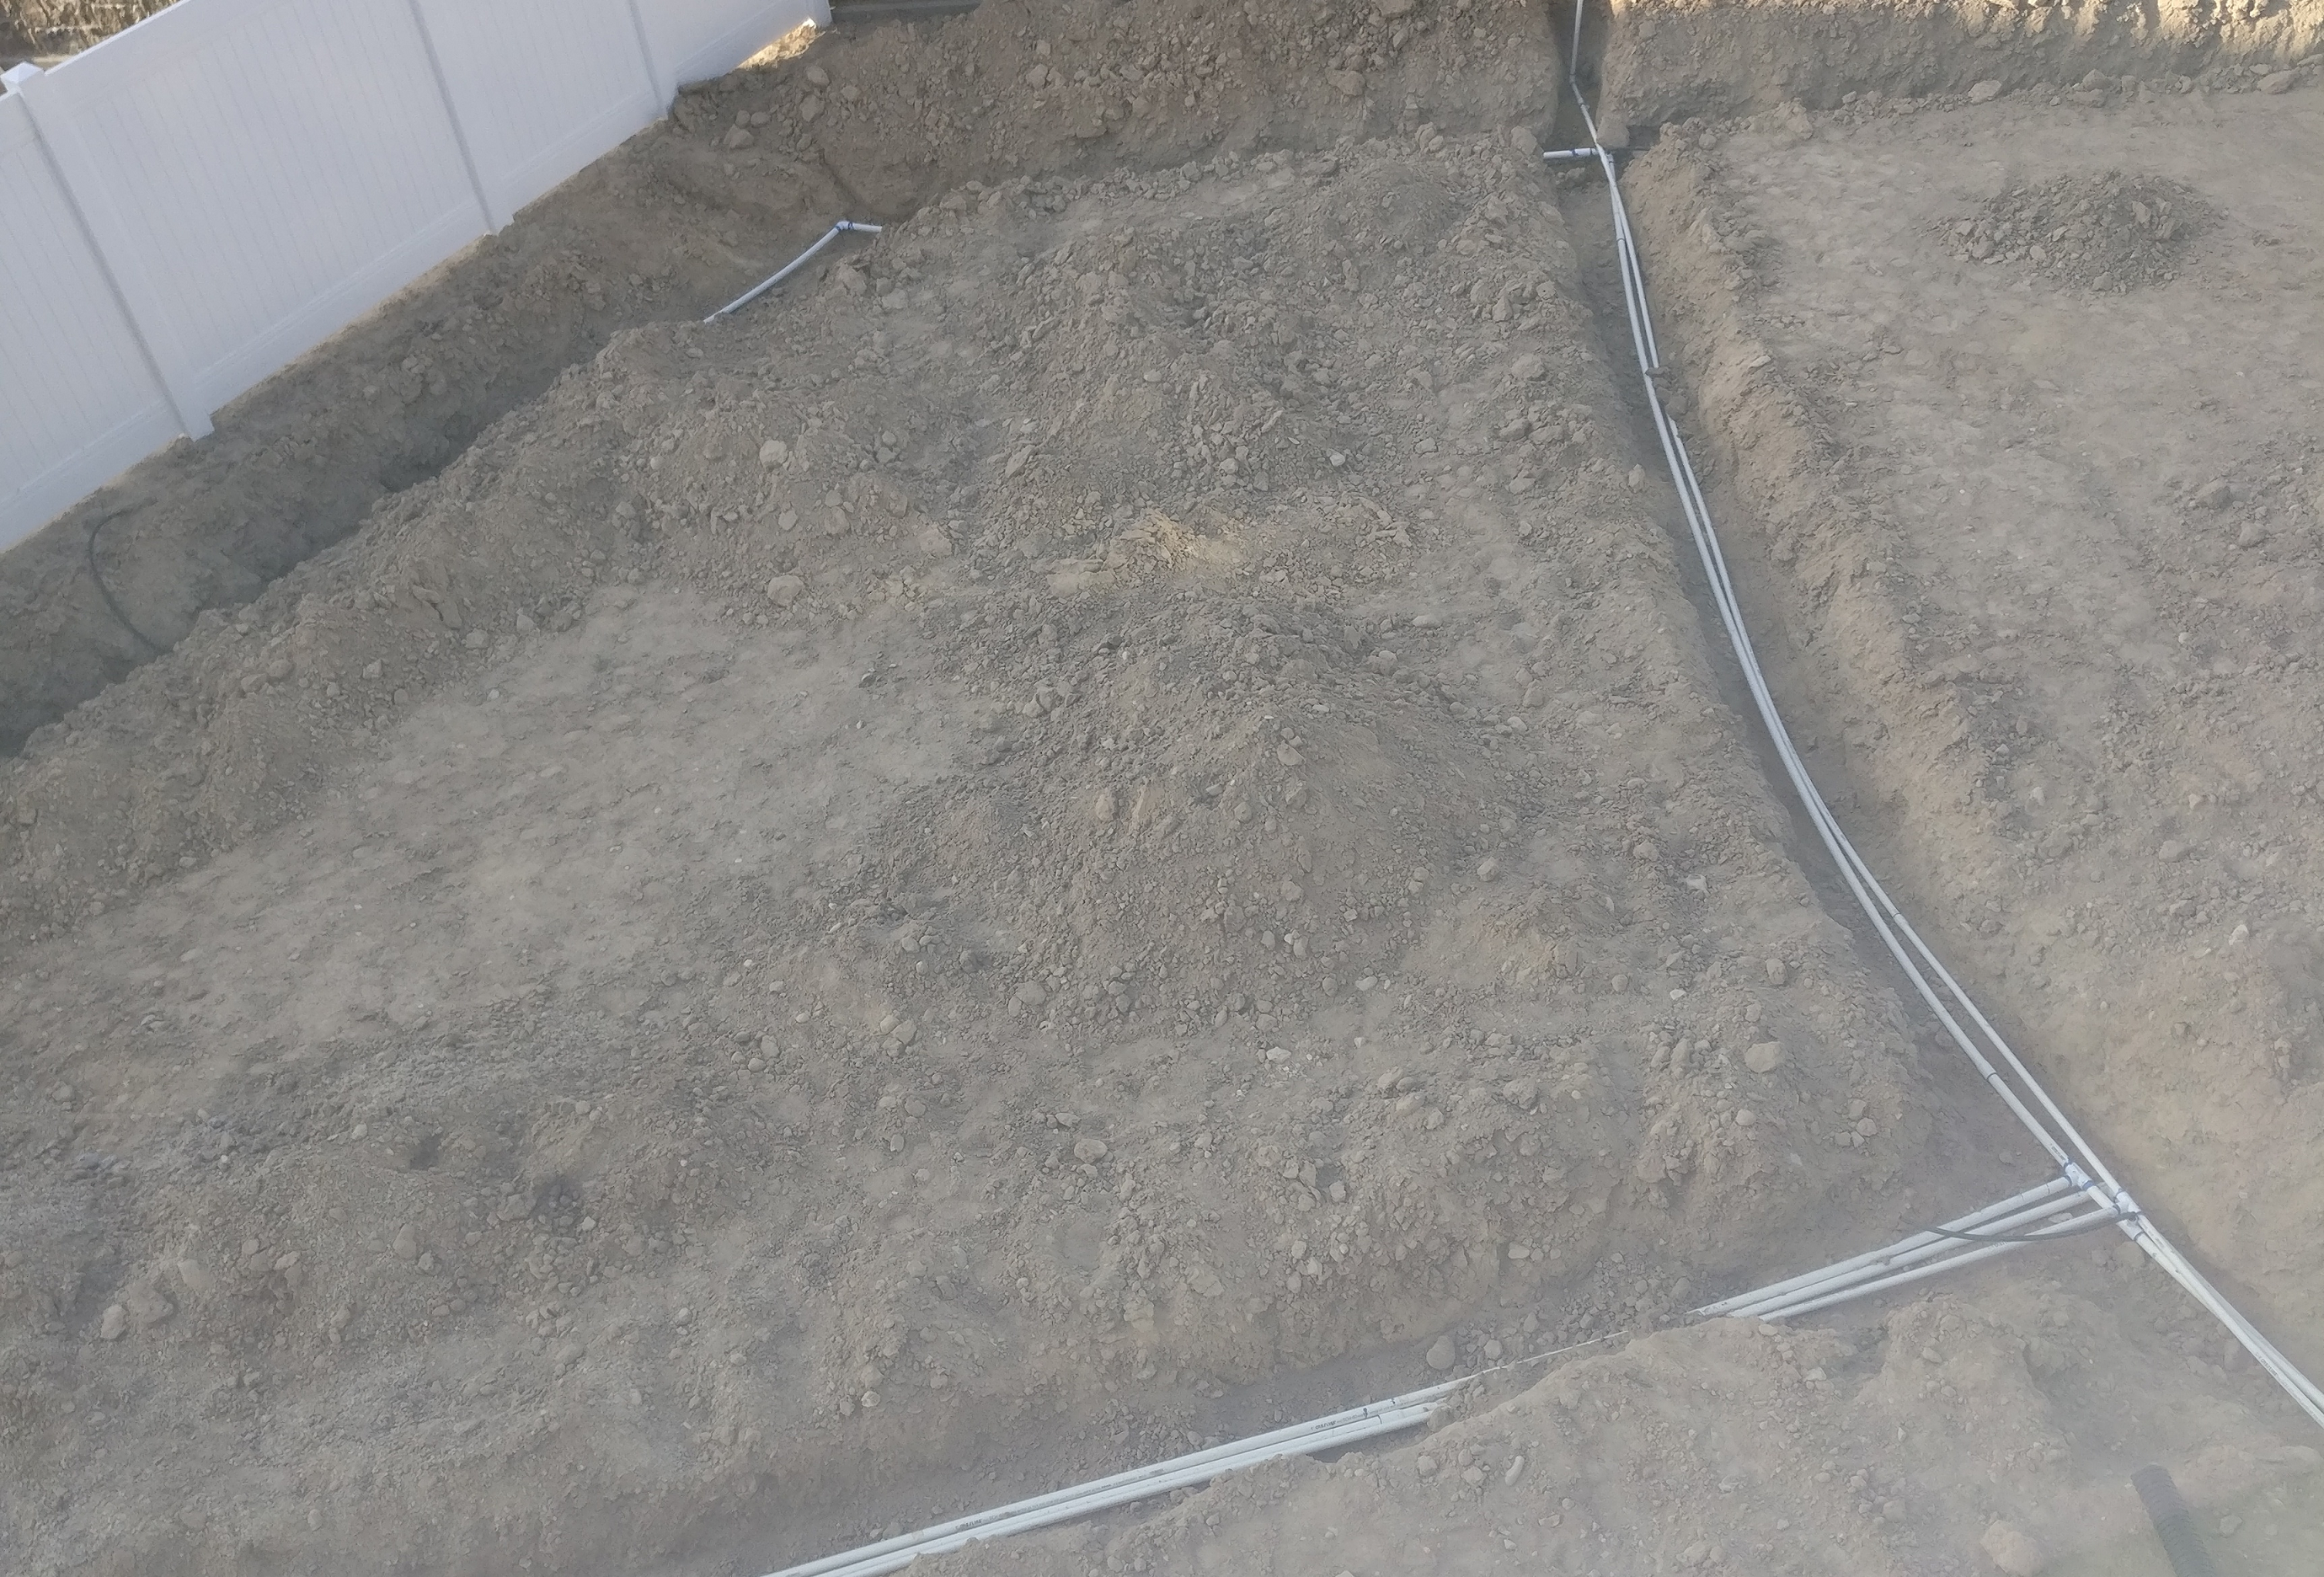
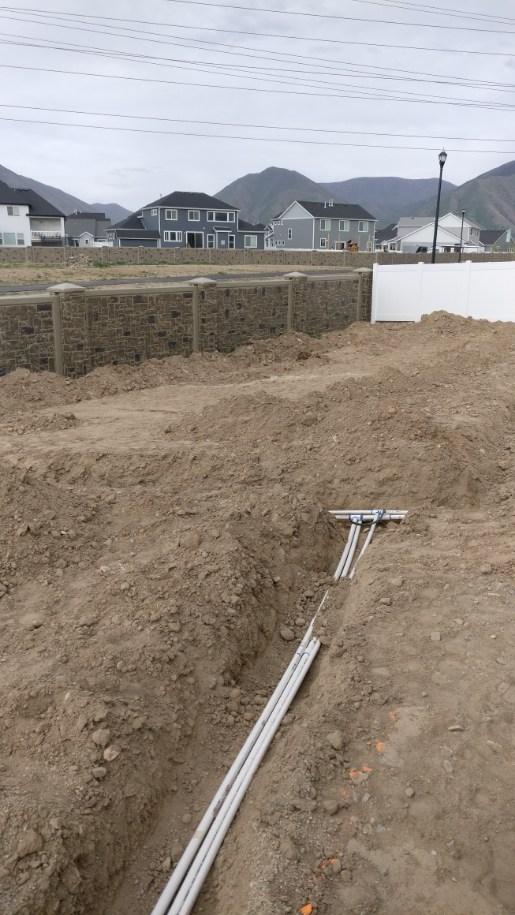
2. Install sprinklers or have a watering system
New sod requires a lot of water to establish and to stay healthy. It is important to have a well planned out automated sprinkler system installed or other watering method to maintain the health of your lawn. We recommend using an automated sprinkler system as this will provide you with the best results and ensure a green healthy lawn for years. Plus if you’re busy like me once it is set up and working you don’t have to remember to water your lawn. As an example for 2 weeks after laying your sod you will need to water your entire yard with approximately 1 inch of water every day and in most cases you can’t put that much water down at once. Let’s be honest most of it would just run off and be wasted. In my case I run my sprinklers over my new sod three times a day. In conclusion, before ordering you Sod and starting this process check out our other Honey Do list article on 6 DIY steps to installing your automated sprinklers. Adding a sprinkler system now will be much easier than after you have added your new sod.

3. Grade your yard
Right before closing on your new home the builder will generally do a final grade on your front and backyard. If you’re not familiar with the term grade is basically used when describing the leveling and sloping of your yard away from the house. Generally you want to have a slight slope away from your house. After installing sprinklers, use, erosion the final grade you had before is most likely off and doesn’t look very good. You are probably now wondering what is the best way to grade your yard. I feel you generally have 3 options, hire someone, do it by hand or rent a skidsteer or tractor. As this is a Do it yourself honey do list article I will briefly discuss the benefits and downsides of doing it by hand and renting a skidsteer. Each option has its benefits and downfalls but I will be focusing on four factors that led me to my decision of renting a Skidsteer for my project. The four factors are cost, manual effort, time, and skills required. While doing the grade by hand with a rake and shovel will save you around 250 dollars it will also cost a lot more time and effort. While a Skidsteer or tractor will cost more money it will save you a lot of manual labor and time to complete. Check out the below graph to see each factor.
Methods For Grading Your Yard Before Laying Sod
| Method | Cost | Manual Effort | Approximate Time | Skill Level |
| By Hand (shovel and Rake) | $50 (if you dont have the tools) | High | 10 – 20 hrs | Low |
| Skidsteer/Tractor | $250 – $300 | Minimal | 1 Hour | Medium |
As you can see above the choice really boils down to is the time to do it worth the money you will save. It very well might be. As always you have the 3rd option of hiring someone to do it for you and there may be a good deal from a local landscaper who will grade your yard cheaper than even renting a skidsteer. However, the Skidsteer can be used for more than one of our below steps. (see step 4: adding top soil) you may also need to add retaining walls and more dirt depending on the slope you are wanting.
4. Adding Top soil
Adding top soil can be a lot of work but is key to a healthy yard especially when your current soil is not very good. In our case we have a very high clay content in our soil and it was not ideal for growing grass and other plants. So we brought in 30 cubic yards of soil to prepare our 3500 Sq. Ft Area and if you have to move that much soil I highly recommend using a skidsteer or tractor because my it is a lot and would have took a lot longer to move the dirt from the front into the backyard with wheelbarrows. Plus you can also use the skidsteer to level out your back yard and create the slope and grade you are looking for. You can adjust your slope by approximately 2 to 3 inches with top soil so if you are wanting a more gradual slope adding a little more top soil can help. The best way to do this is to use the skidsteer to move the soil from the street into piles throughout your desired area. Once you have done that then you can use the bottom of the bucket and spread the soil by driving backwards. Similar to what you would do when grading your yard in step 3.
Once you have added top soil it is time to smooth out the soil. You want it to be smooth and to reduce any ridges or dips. This step is key to ensure that you don’t have a lumpy yard. A key thing is to use the back of the rack to spread the top soil and to remove any un level ground.
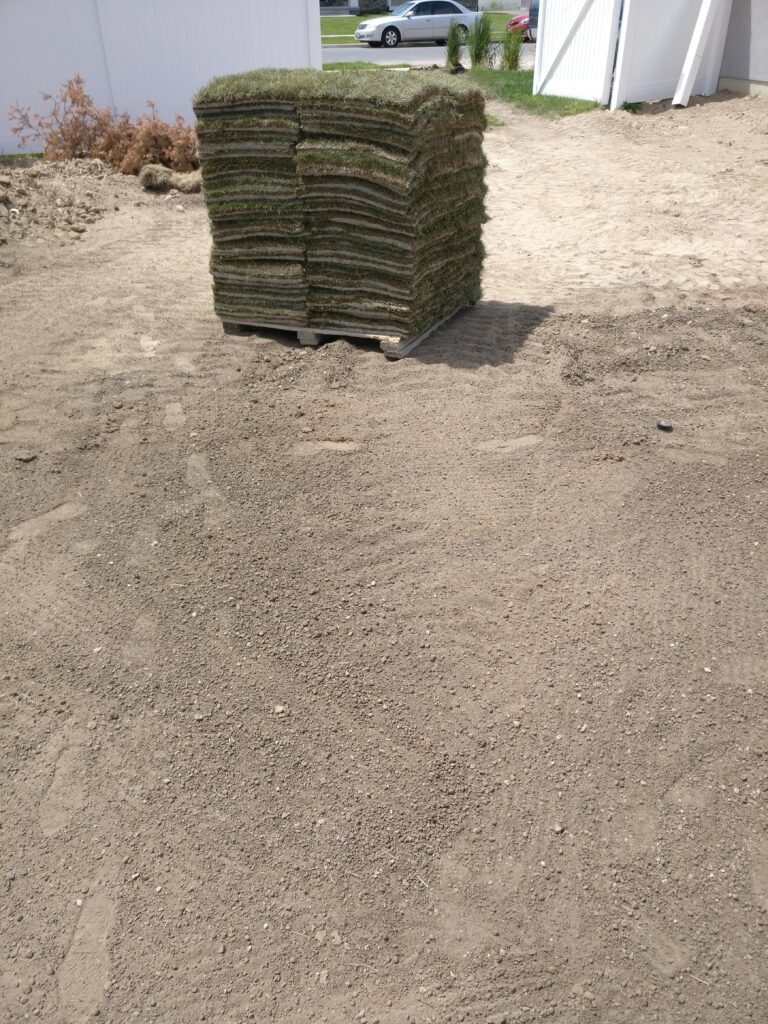
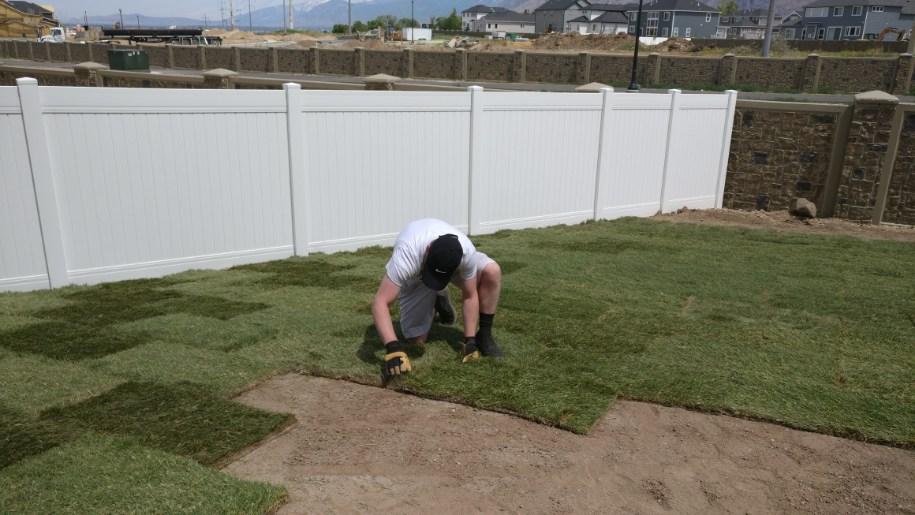
5. Laying Sod
Now that you have smoothed out your yard over the last few days it is now time to lay your sod. The sod company will generally off load each pallet using a fork lift and based on my experience they will attempt to put the pallets wherever you ask. If it is possible have the sod company employee strategically place each pallet around your yard, including into the back yard. Once they have offloaded it is important to start laying one long row of sod pieces to create your base line. You will want to stagger each layer in a brick like pattern by offsetting them. Continue laying the sod until you have covered the entire area. While laying sod you will come across edges and sprinkler heads that require the sod to be cut and based on my experience using a cheap serrated knife is very cheap and an effective cutting tool.
6. Watering your Sod
It is key to water your sod with at least 1 inch of water everyday for 2 weeks. During this 2 week period it is key to look for dry spots and adjust your sprinklers so that you get even coverage. After 2 weeks you can continue to water every other day but still watering at least 1 inch of water. You may also mow the lawn after 2 weeks. Your new sod should be established and after these first 2 – 4 weeks you can start to enjoy using your new grass area.
Now that your new grass has been installed you can start to enjoy your new landscaping. As a do it yourself guide this may not be the best option for everyone. Follow us, Contact us and we will be happy to help you to finish your DIY projects or check out our landscapers at Our Honey Do list Network or our article on 10 tips for laying sod.